
Clients
The Clients section allows you to manage business and individual client information used for extension filings. You can add, edit, search, filter, and delete client records from this page.
Create Your First Client
If no clients are available, the system displays the message “No clients found.”
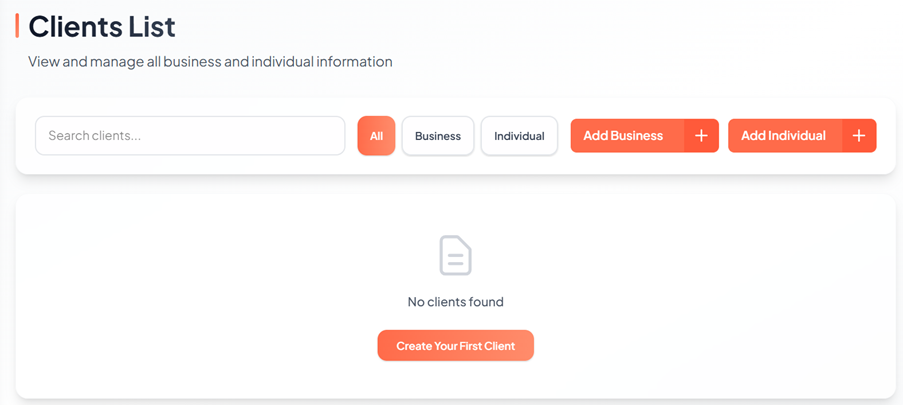
To create your first client:
1. Click Clients from the left navigation menu.
2. On the Clients List screen, click Create Your First Client.
3. Select one of the options:
-
Add Business
-
Add Individual4. Enter the required client details.5. Click Create Client to save the client information.
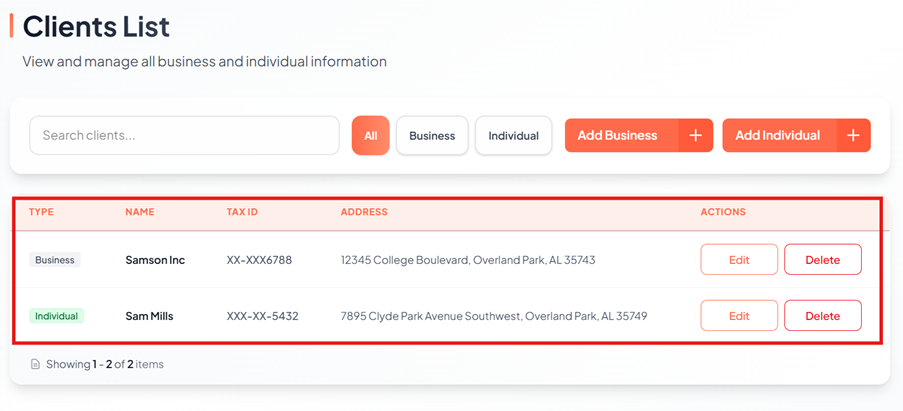
Access the Clients Page
1. Click Clients from the left navigation menu.
2. The system displays a list of all saved clients, including:
-
Type (Business or Individual)
-
Name
-
Tax ID (masked)
-
Address
-
Available Actions (Edit / Delete)
Search and Filter Clients
1. Search and filter clients using the following options:
· Search clients using the search bar.
· Filter clients by selecting filter buttons to view:
o All
o Business
o Individual
Add Business Client
To add a business client, perform the following steps:
1. Log in to the EZ Extension application.
2. From the left pane, navigate to Clients.
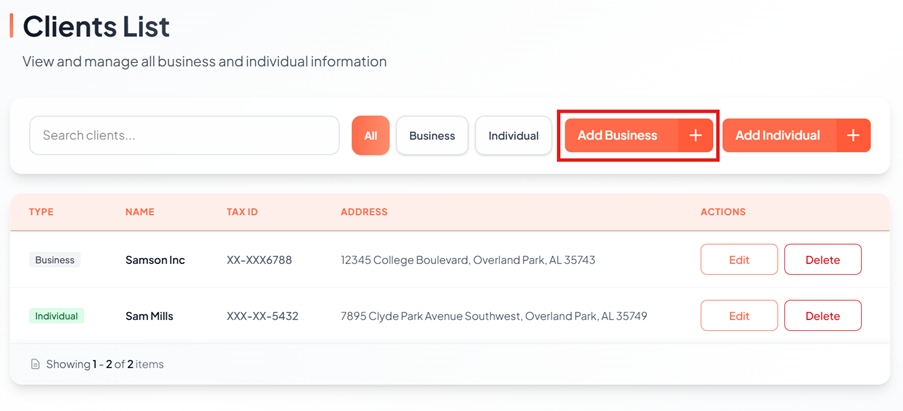
3. Click Add Business.
The Create Business Client page appears.
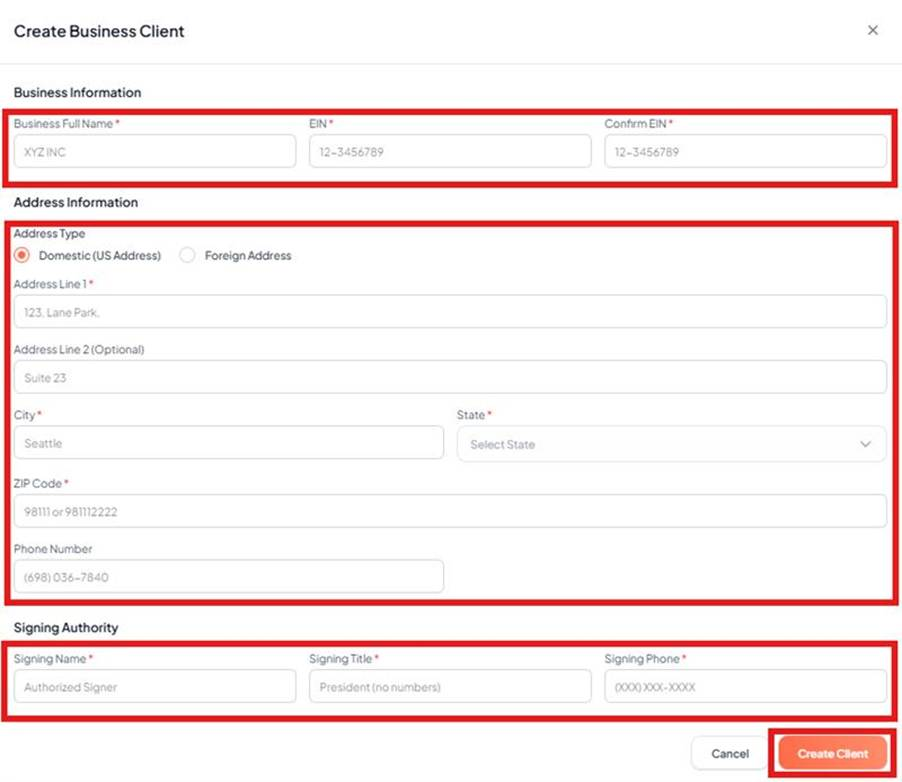
4. Under the Business Information section:
a. Enter the business name in the Business Full Name box.
b. Enter the EIN in the EIN box.
c. Re-enter the EIN in the Confirm EIN box.
5. Under the Address Information section:
a. Select the Address Type (Domestic or Foreign).
b. Enter the address in the Address Line 1 box.
c. Enter the city in the City box.
d. Select the state from the State list.
e. Enter the ZIP Code in the ZIP Code box.
f. (Optional) Enter the phone number in the Phone Number box.
6. Under the Signing Authority section:
a. Enter the signer’s name in the Signing Name box.
b. Enter the signer’s title in the Signing Title box.
c. Enter the signing phone number in the Signing Phone box.
7. Click Create Client.
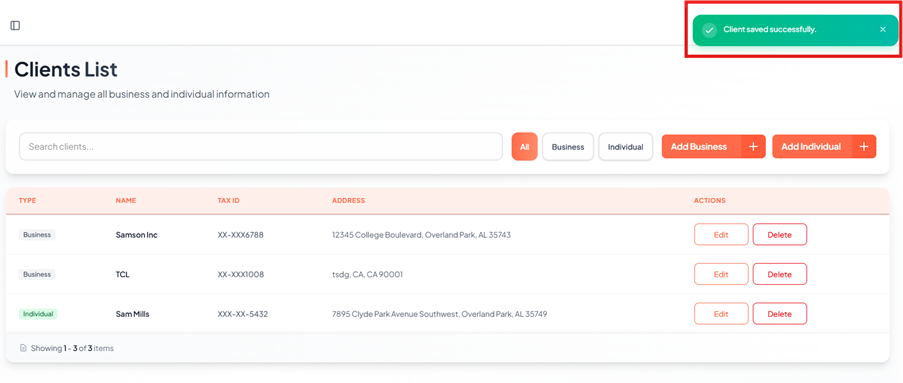
A pop-up message appears as Client Saved Successfully.
Add Individual Client
To add an individual client, perform the following steps:
1. Log in to the EZ Extension application.
2. From the left pane, navigate to Clients.
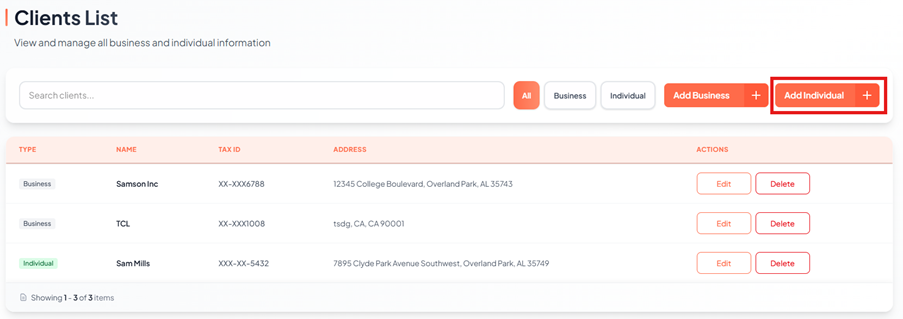
3. Click Add Individual.
The Create Individual Client page appears.
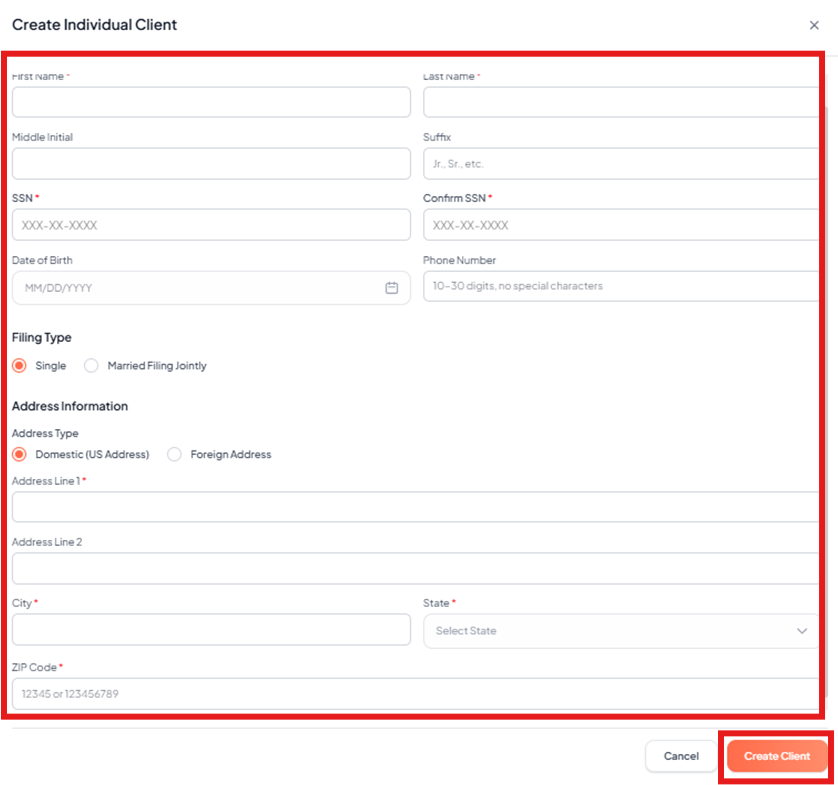
4. Enter the individual’s details:
a. Enter the first name in the First Name box.
b. Enter the last name in the Last Name box.
c. Enter the SSN in the SSN box.
d. Re-enter the SSN in the Confirm SSN box.
5. (Optional) Enter additional information:
a. Enter the middle initial in the Middle Initial box.
b. Enter the suffix in the Suffix box.
c. Select the date of birth in the Date of Birth field.
d. Enter the phone number in the Phone Number box.
6. Select the filing type:
a. Single, or
b. Married Filing Jointly.
7. Under the Address Information section:
a. Select the Address Type (Domestic or Foreign).
b. Enter the address details.
c. Enter the city.
d. Select the state.
e. Enter the ZIP Code.
8. Click Create Client.
A pop-up message appears as Client Saved Successfully.
Edit Client
To edit an existing client, perform the following steps:
1. Log in to the EZ Extension application.
2. Navigate to Clients from the left pane.
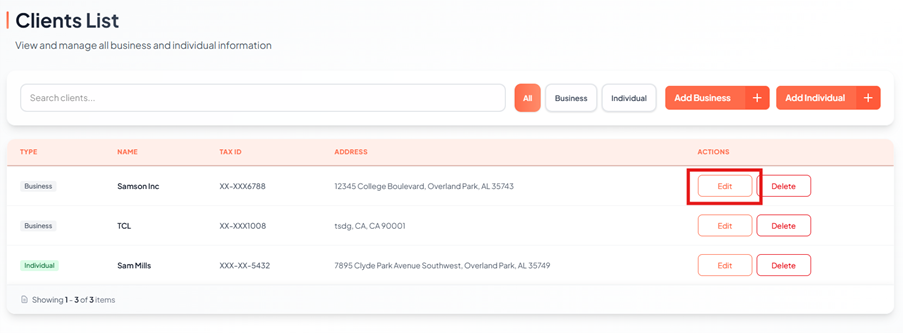
3. Locate the client in the list.
4. Click Edit under the Actions column.
The Edit Client page appears.
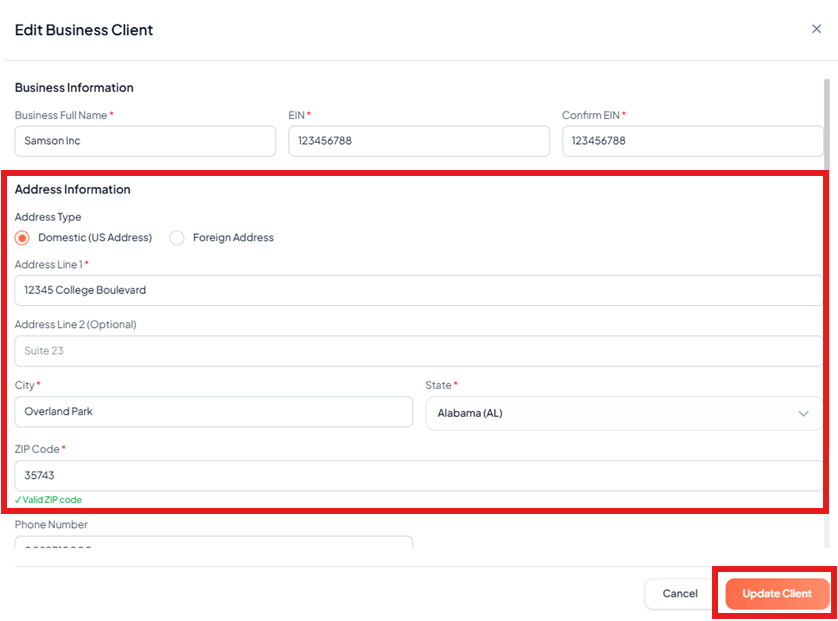
5. Update the necessary information.
6. Click Update Client.
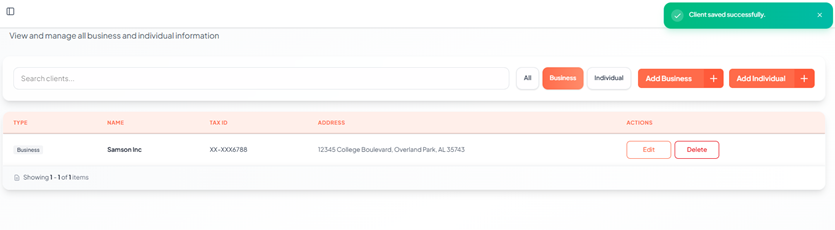
A pop-up message appears as Client Saved Successfully.